To record and transcribe a user interview on Google Meet or Zoom, get consent before the call, choose a recording method that fits your account and your participant, and get the recording somewhere you can find and clip the moments that matter.
Pressing record is the easy part. The time goes into everything after: tracking down the file, scrubbing through an hour of video for the 40 seconds where your participant explained why they gave up on onboarding, and turning that into something a stakeholder will actually watch.
This guide walks through each step, from the invite to the clip.
How should you handle consent before the call?
Consent starts before anyone joins. Put it in writing when you schedule the session: say the call will be recorded and transcribed, explain who will see the recording, and tell people how they can ask you to stop or delete it. If your organization has a consent form or legal guidance, don't improvise.
Then say it again out loud at the start of the call. Written consent from a week ago is easy to forget, and participants relax when you walk them through it plainly: what you're recording, why, and that they can pause or skip any question.
Tell participants about any notetaker ahead of time. If a bot joins the call, people will see an extra participant in the grid. That surprises people who weren't told, and a surprised participant gives you guarded answers.
Plan for the waiting room too. Google Meet and Zoom often treat outside participants as guests, and depending on the meeting's settings, someone may need to admit them. That goes for notetakers as well as people. Decide in advance who on your side will watch for admit requests so your participant isn't left hanging.
What are your recording options on Meet and Zoom?
You have three broad choices, each with trade-offs.
The platform's built-in recording. Both Google Meet and Zoom offer recording, but whether you can use it depends on your account and your admin's settings. Check this before your first session, not five minutes into it. The trade-off is what happens afterward: the file lands wherever the platform puts it, and you still have to move it, transcribe it if that isn't included, and find the good parts yourself.
Recording your screen locally. This works regardless of meeting settings, but it ties the recording to your machine. If your laptop sleeps, runs out of space or crashes mid-session, you lose footage. You also own every step after: uploading, transcribing, organizing.
A notetaker that joins the call. A notetaker joins as a participant and records the session for you. The upside is that you can focus on the conversation instead of the controls. The trade-off is visibility: it shows up in the participant list, so it needs to be part of your consent conversation, and it may need to be admitted from the waiting room.
How do you get from the call to a clip?
This is where most of the time disappears. The recording exists, but it's sitting in a cloud folder or on your desktop, the transcript is a separate file, and the moment you want to show your team is buried somewhere in the middle. Multiply that by a round of eight or ten interviews and the clipping work can take longer than the interviews did.
This is the problem we built the Clipses.ai Chrome extension for. It records and transcribes Google Meet and Zoom calls straight into Clipses, so the footage arrives already in the place where you'll search it and cut highlights. You can find it in the Chrome Web Store
There are a few ways to send the notetaker:
- Book it from Google Calendar. Calendar events with a Google Meet or Zoom link get an "Add Clipses.ai to capture highlights" button, which books Clipses to join at the start time. This needs Google Calendar set to English, and it skips all-day and past events.
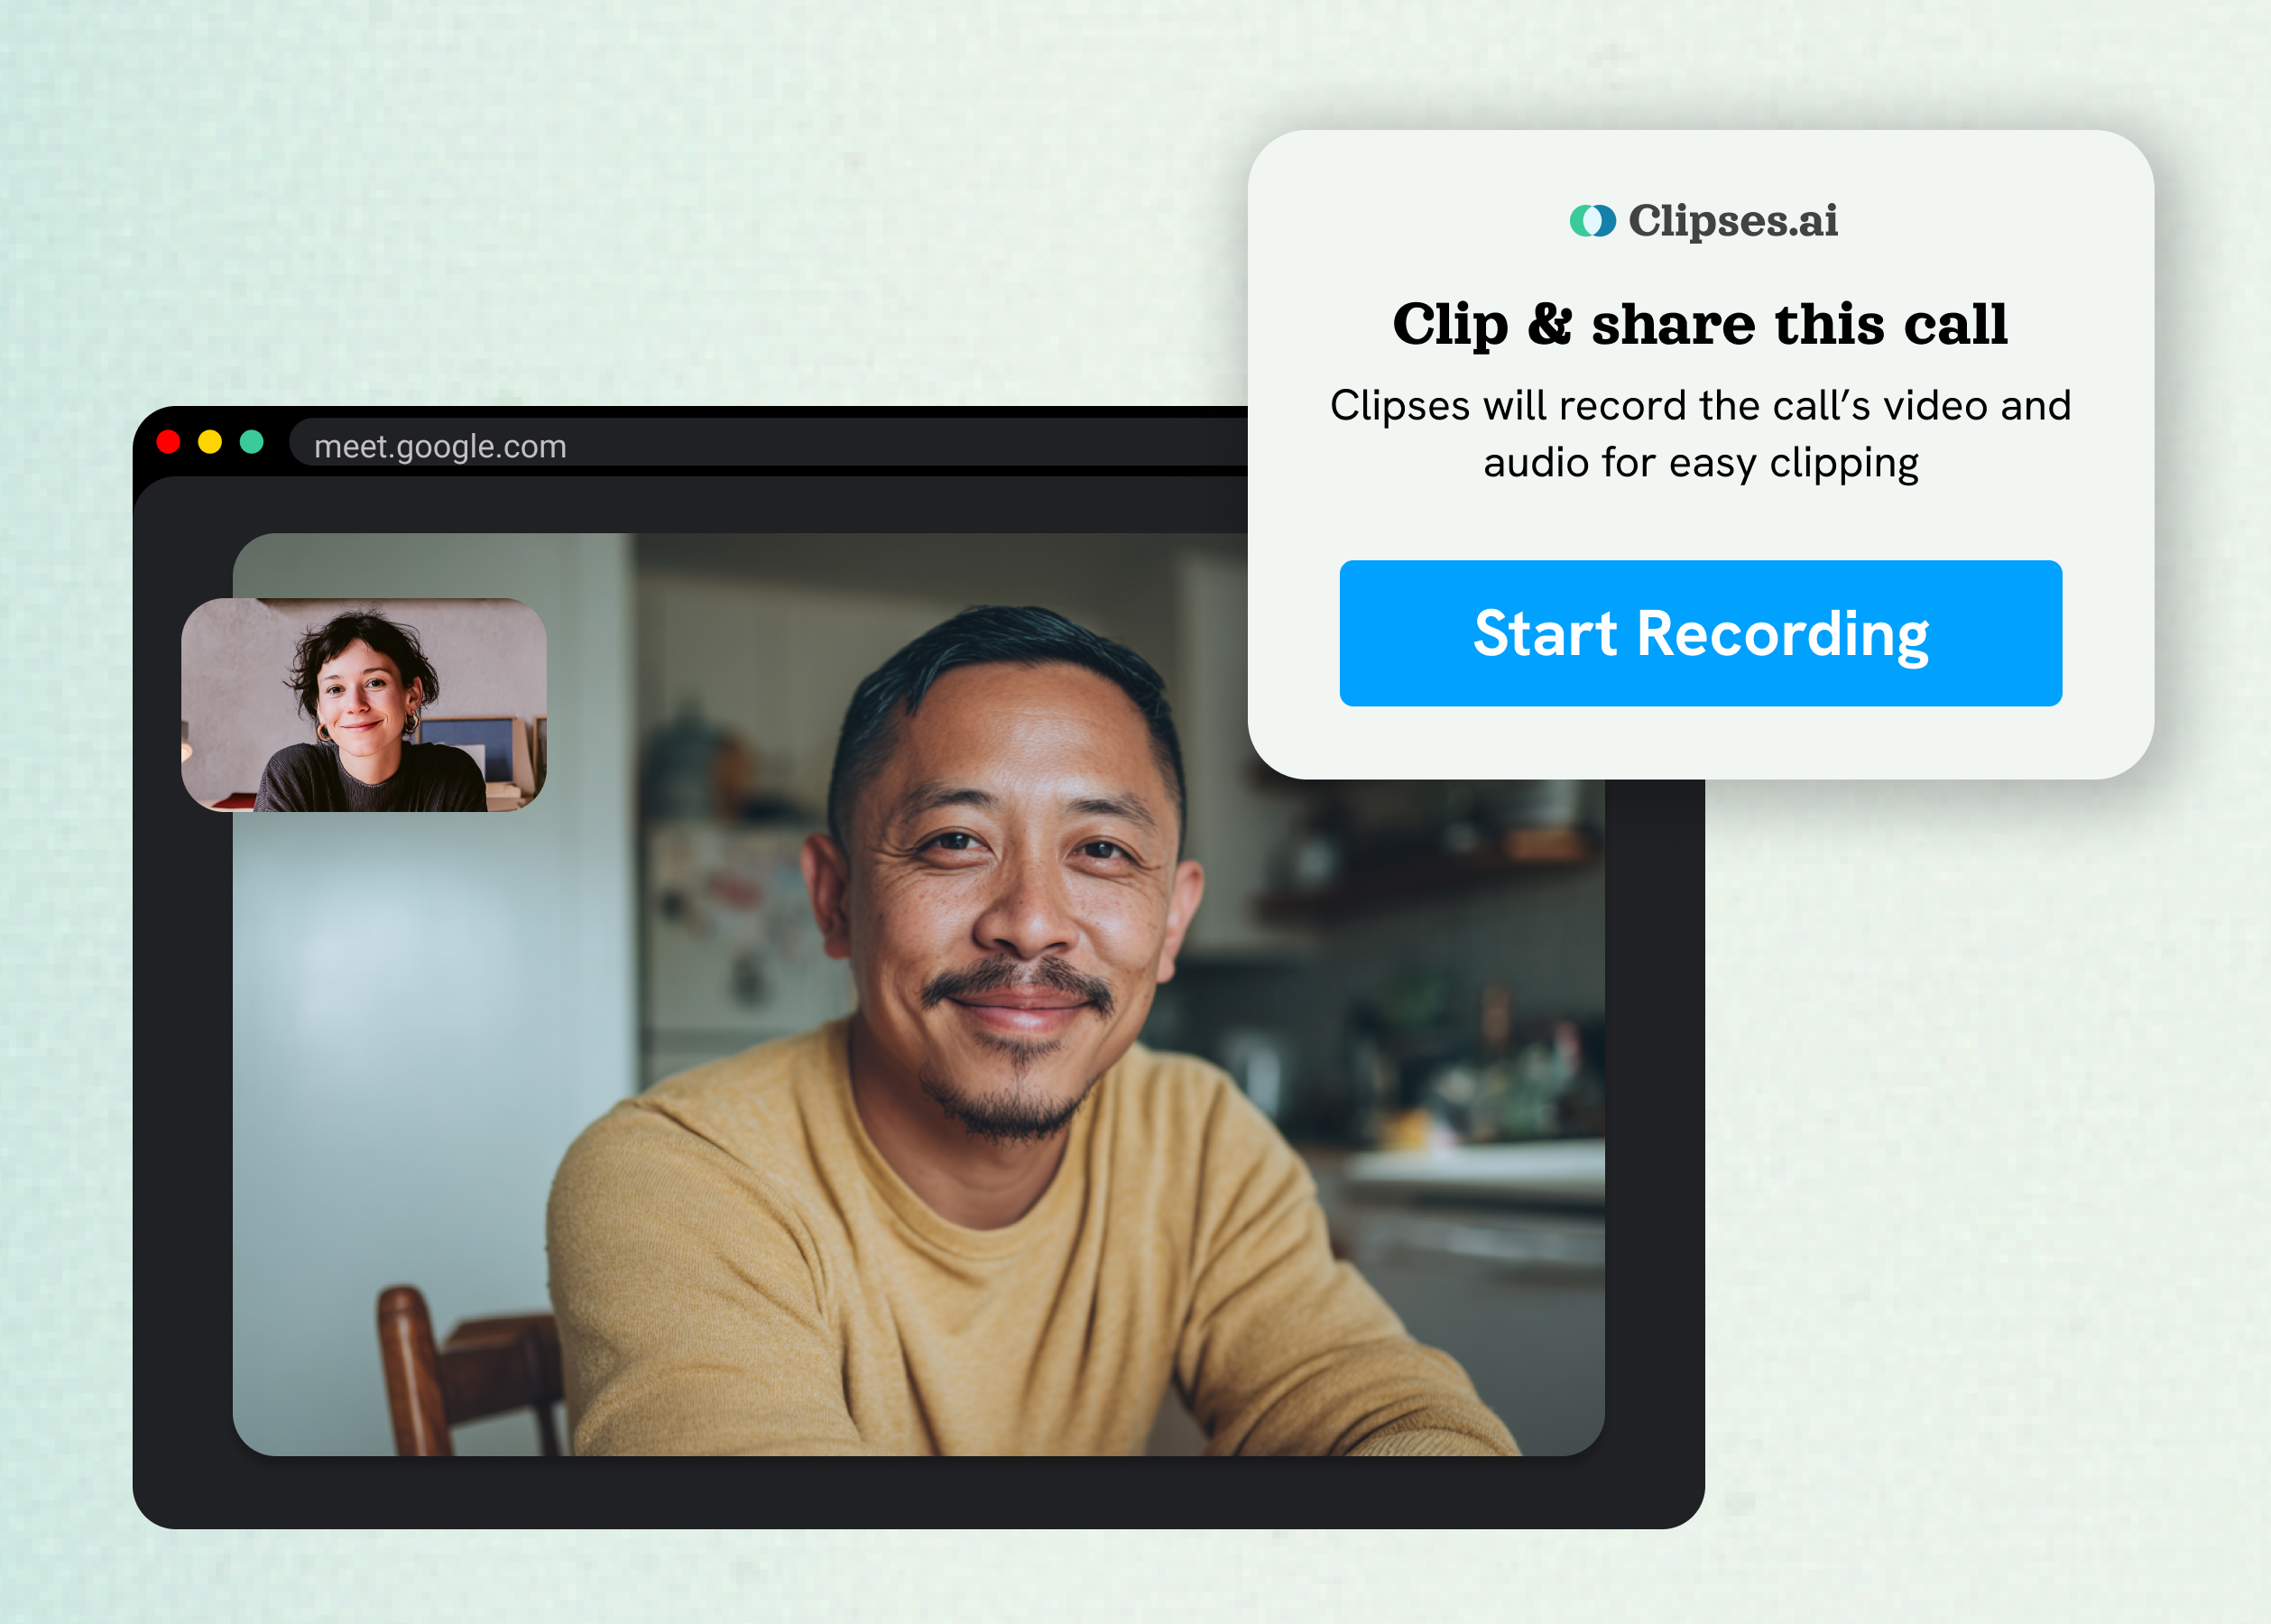
- Add it to a Google Meet call that has already started. It takes one click. In a Meet call, a "Clip & share this call" card appears with a Start recording button, or you can use Add Clipses to this call from the toolbar icon.
- Paste a join link into the extension to send the notetaker to that call now.
Clipses joins as a participant named "Clipses.ai Notetaker", which is exactly why it belongs in your consent conversation. Google Meet and Zoom treat it as a guest, so depending on the meeting's settings, someone may need to admit it from the waiting room.
How do you share the moment with stakeholders?
Stakeholders rarely watch a full interview, but most will watch a minute of a real customer struggling with something they built. That's the whole case for clips.
Pick moments that stand on their own: a participant explaining a workaround, hesitating at a step, or describing a problem in their own words. Keep each clip short and include enough context that someone who wasn't in the call understands what's happening.
When a finding shows up across several sessions, a highlight reel that strings those moments together makes the pattern hard to dismiss. One participant is an anecdote. Four participants saying the same thing in their own words is a conversation your team needs to have.
A clip is evidence, not a conclusion. Which moments matter, and what they mean, is still your call as the researcher. Clips just make it much easier to show your team what you heard.
The short version
Get consent in writing and out loud. Pick a recording method you've tested. Then shorten the distance between the end of the call and a clip someone can watch, because that's where your time actually goes.